Hi Everyone this is Prem, I have worked as Microsoft 365 support ambassador. In this blog I will share How to Create Shared Mailbox in Office 365 using Office 365 Admin center and Windows PowerShell.
To create a shared mailbox using Office Admin Center go to https://Admin.microsoft.com
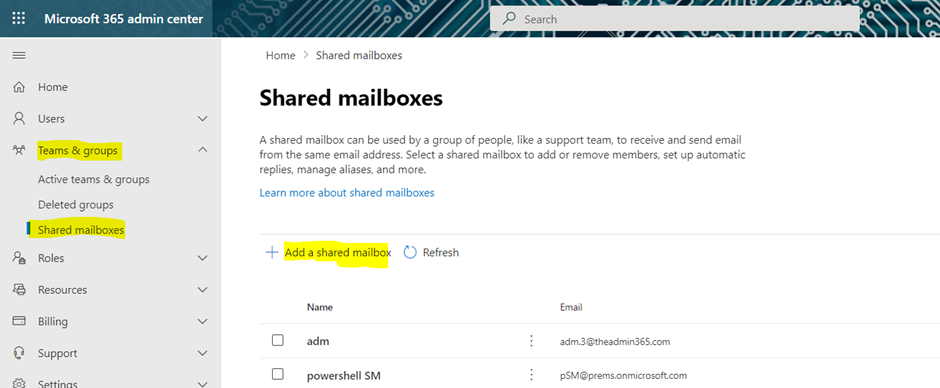
Click on Teams and Groups > then click on Shared mailboxes and then click on Add a shared mailbox:
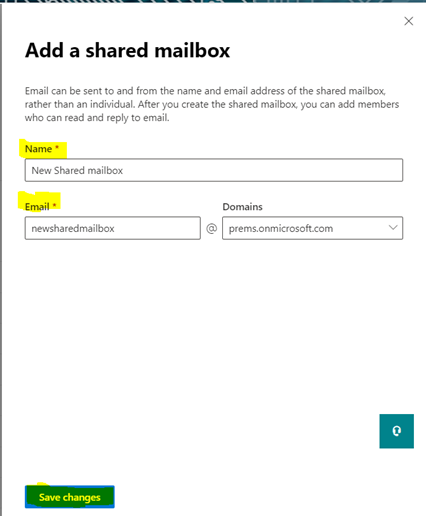
Give it a Name and Email address and click Save changes:
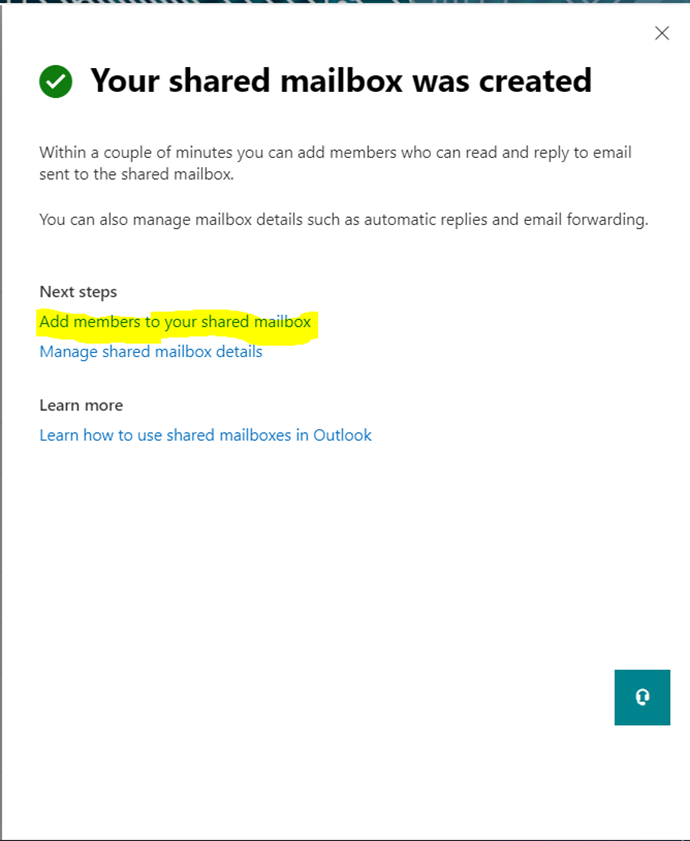
Once created you can Add members to it, by default a member has Send as and Read and Manage permission on the shared mailbox:
If you are a member of the Shared mailbox then it will be auto mapped on the Desktop Outlook after sometime, you can close and relaunch outlook and check after 30 minutes.
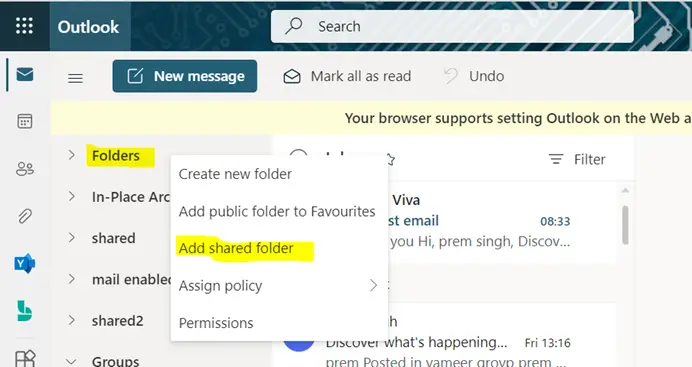
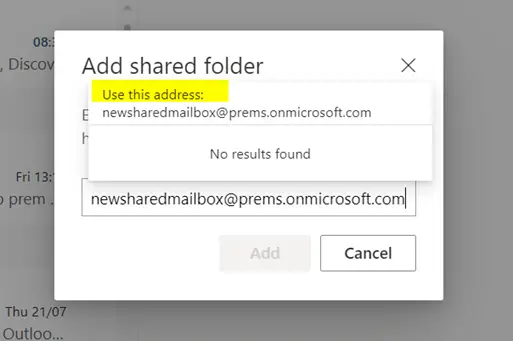
You can manually add the shared mailbox in the outlook on the web by going into the Outlook on the web and then right click on the Folders option > Add shared folder:
Type the email address completely if you don’t see any suggestions and then select Use this address and then Add:
The new shared mailbox should show up on the let navigation pane above the Groups section.
To create a Shared mailbox using PowerShell we will have to connect it to the Exchange online:
To connect to Exchange Online please refer this article
Once connected successfully we then have to run the below command to create a shared mailbox:
New-Mailbox -Shared -Name “IT Group” -DisplayName “IT Group”
The above command will create a Shared mailbox with the Display name IT Group.
In this way we can create Shared mailbox using Office admin center and PowerShell, do let us know if you have any question.
Date: 3/08/2022
Author: Prem
Tags: How to Create Shared Mailbox in Office 365
Pingback: Fixed Emails Sent from Shared Mailbox Missing Issue - The Admin 365