Hi Everyone this is Prem, I have worked as Microsoft 365 support ambassador. In this blog I will share How to Connect to SharePoint Online using PowerShell in Office 365.
Steps to connect to SharePoint Online using PowerShell:
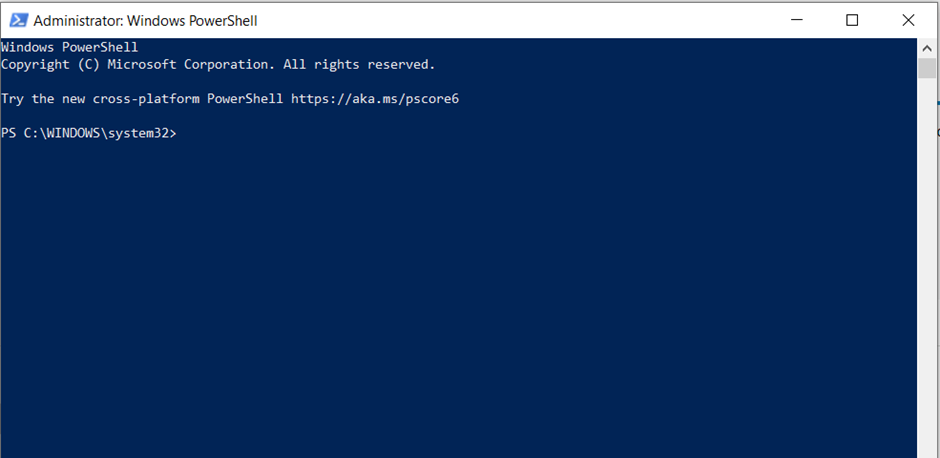
1.Search for windows PowerShell on your computer and run it as an administrator:

Once opened it should look like this:
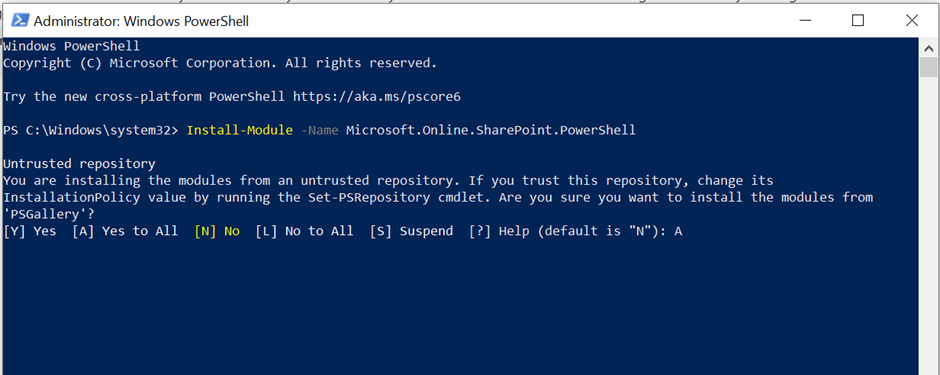
To install module to connect to SharePoint Admin center using PowerShell run the below command:
Install-Module -Name Microsoft.Online.SharePoint.PowerShell
Type A to install:
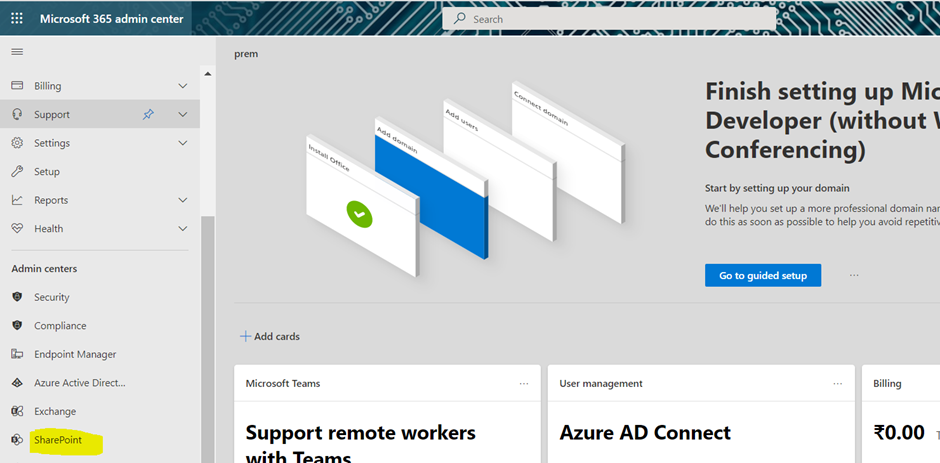
Now we will need the SharePoint admin center URL which is unique for each tenant.
To find it go to https://admin.microsoft.com > click on SharePoint under Admin centers:
Once the SharePoint admin center is loaded you will find its URL on the top which should look something like this:
![]()
Connect-SPOService -Url https://prems-admin.sharepoint.com
Replace https://prems-admin.sharepoint.com with your Admin center URL in the above command and then run the command:
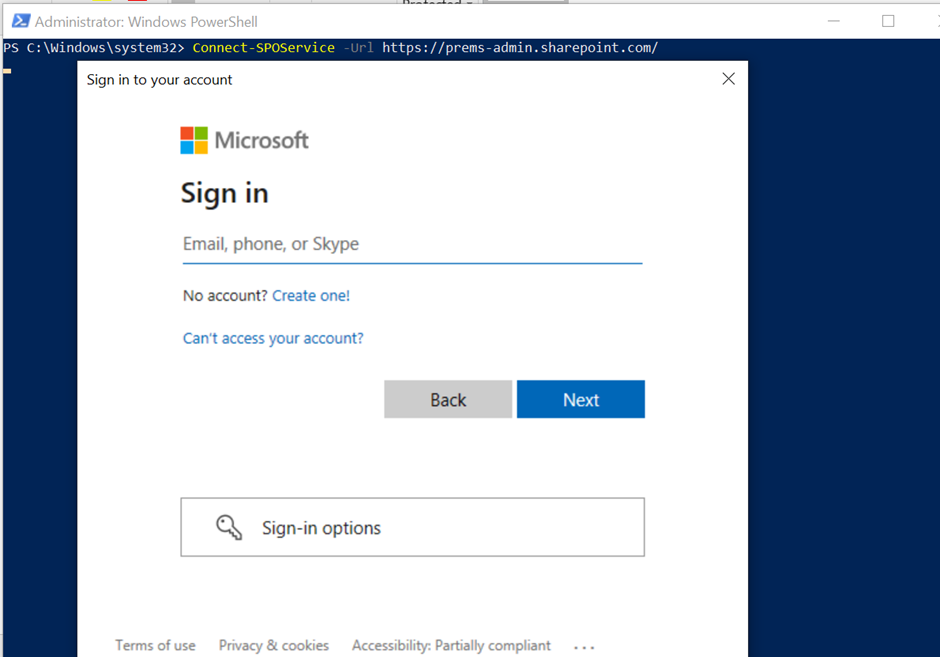
Enter your Global admin or SharePoint admin Credentials to connect.
If you have Multifactor Authentication enabled on the account then you will have to complete the second steps of Authentication (Text, Call, Authenticator app, etc.) as well and after it is completed you should be connected to SharePoint Admin center using PowerShell.
In this way we can Connect to SharePoint Online using PowerShell.
Date: 3/08/2022
Author: Prem
Tags: How to Connect to SharePoint Online using PowerShell
Pingback: How to Access User OneDrive without its Password in Office 365 - The Admin 365