In this blog we will get to know how to Export all the mailboxes in Office 365 using PowerShell.
We can export all different type of mailboxes in Office 365 using PowerShell, the output will be in the form of csv and we can then filter the data according to our need.
The type of mailboxes that can be exported are active User mailboxes, Shared mailboxes, Resource mailboxes, Inactive mailboxes, etc.
We will understand the parameters and we will see multiple commands in this blog, you can use them according to your need.
Steps to Export all the mailboxes in Office 365 using PowerShell:
First we will have to open a windows PowerShell as an administrator and then connect it to the exchange online.
You will need a windows computer and a Exchange Administrator account or Global Administrator account or Global Reader account to be able to export the data.
Once you have the above refer this article for step by step information to connect to exchange online using PowerShell.
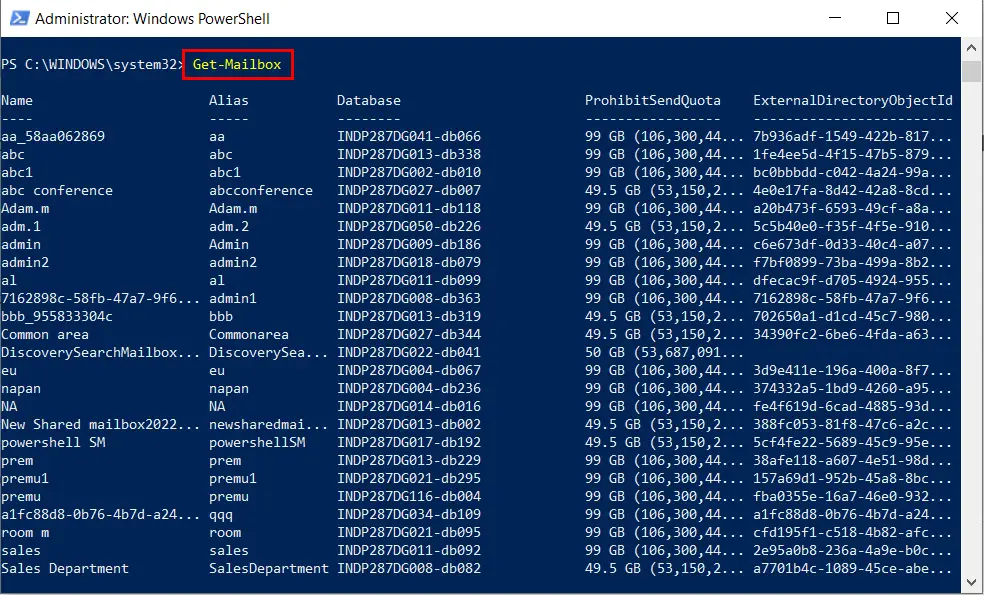
Once connected to exchange online using PowerShell, to list all the mailbox, run the below command:
Get-Mailbox
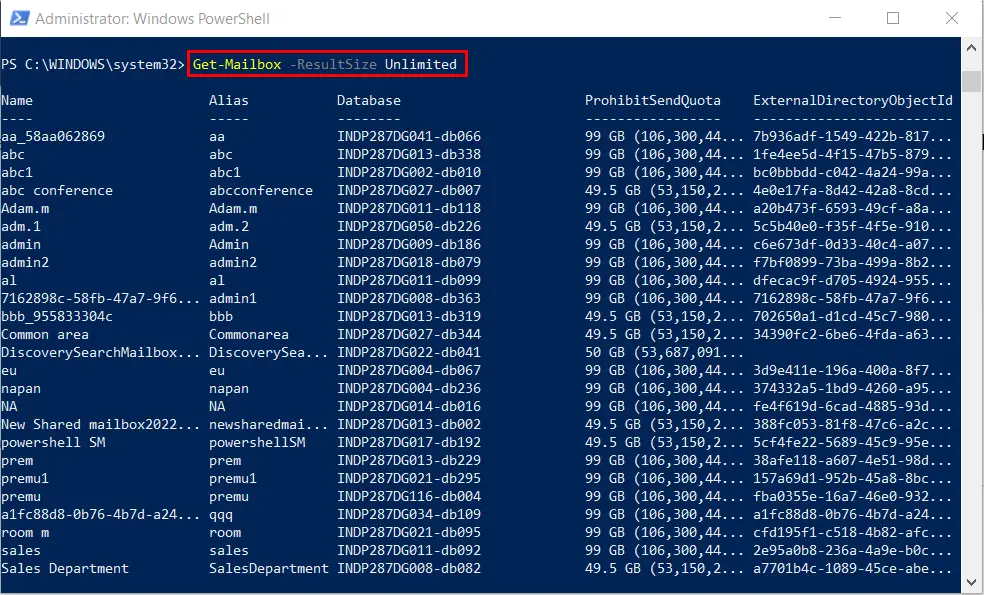
If you have mailboxes or accounts(Identities) more then 1000 in your organization, then you will have to run the Resultsize parameter as well, by default it only shows or export 1000 entries.
So the new command will become:
Get-Mailbox -ResultSize Unlimited
To export this mailbox data, you will have to add a export parameter as well, for that, refer below command:
Get-Mailbox -ResultSize Unlimited | Export-Csv -Path “c:\MailboxesList.csv”
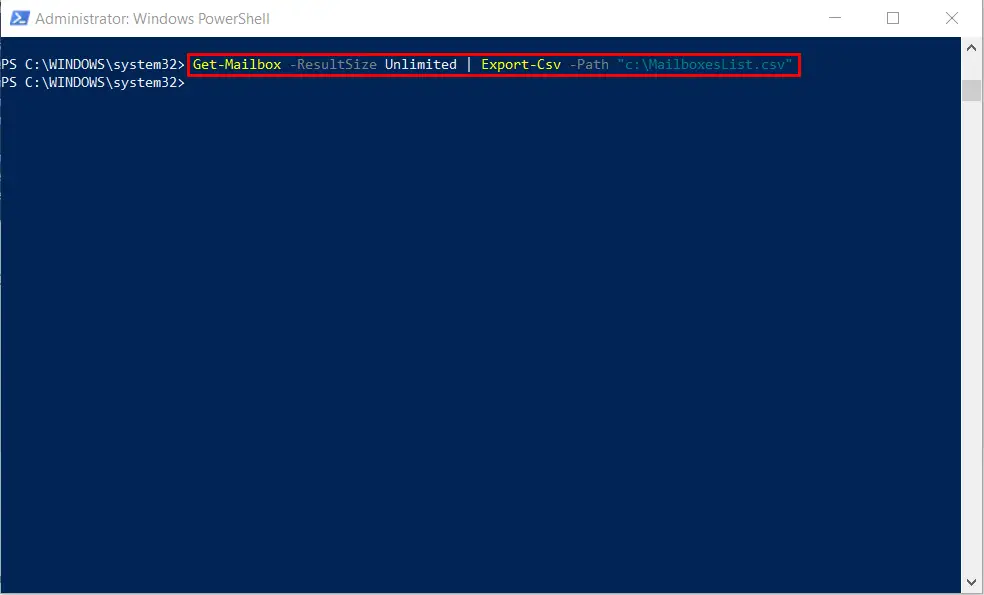
In the above command we have added: | Export-Csv -Path “c:\MailboxesList.csv”.
Anytime we want to export data in the form of csv, we have to put a Export-csv parameter along with the path where it should create a csv. In the above case the path provided is “c:\MailboxesList.csv“.
If I check the path, I will see the file:

If I open the file, I can see all the parameters of all the mailboxes exported, in the form of columns in the CSV file:
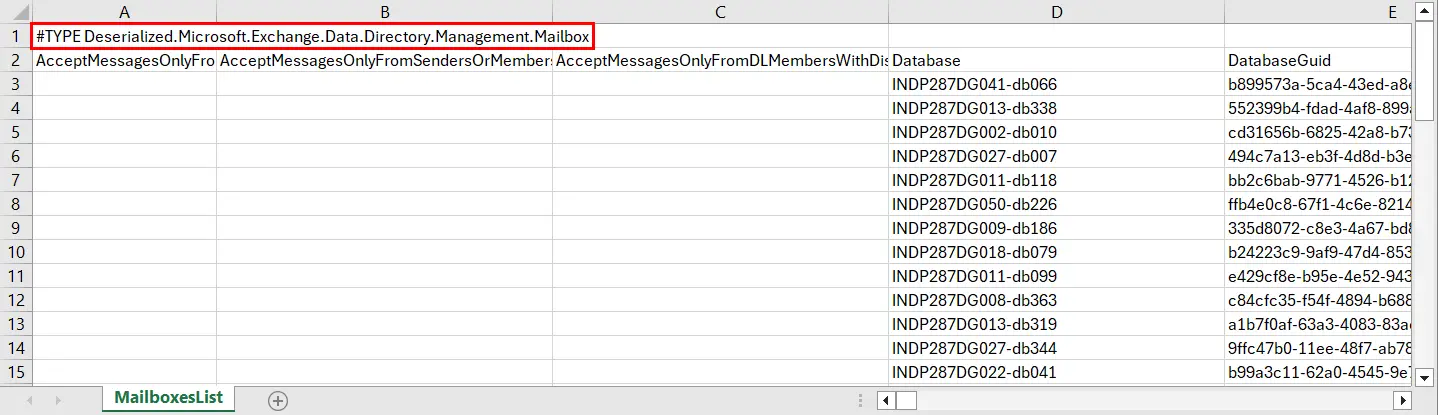
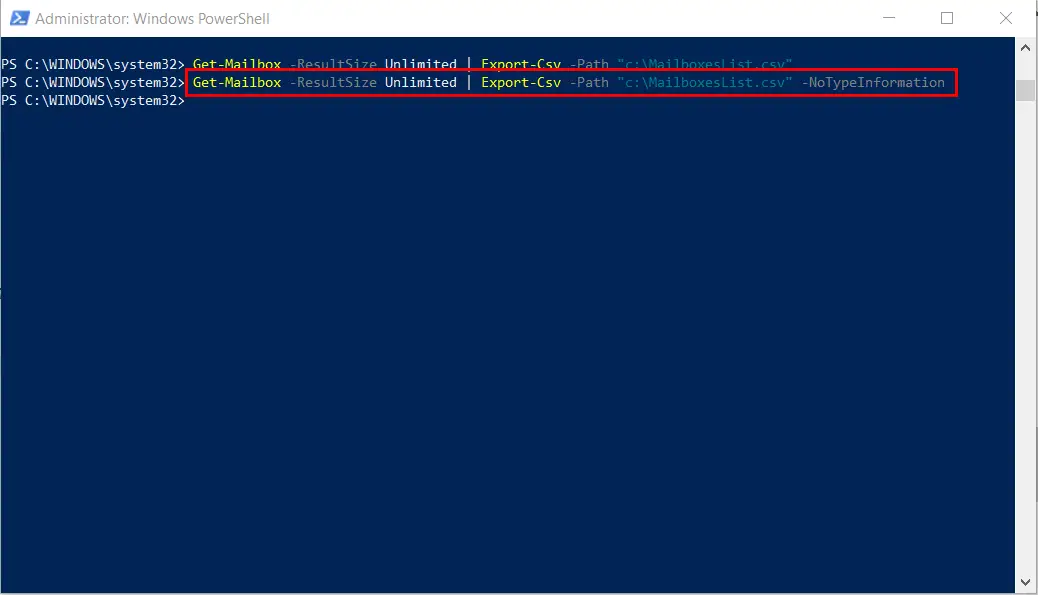
The first line can be deleted manually or you can add the NoTypeInformation parameter in the command, then the command will become:
Get-Mailbox -ResultSize Unlimited | Export-Csv -Path “c:\MailboxesList.csv” -NoTypeInformation
If you want to export only certain parameter and not all of them then you can run the below modified command:
Get-Mailbox -ResultSize Unlimited | Select Displayname, PrimarySMTPAddress, UserPrincipalName, RecipientTypeDetails | Export-Csv -Path “c:\MailboxesList.csv” -NoTypeInformation
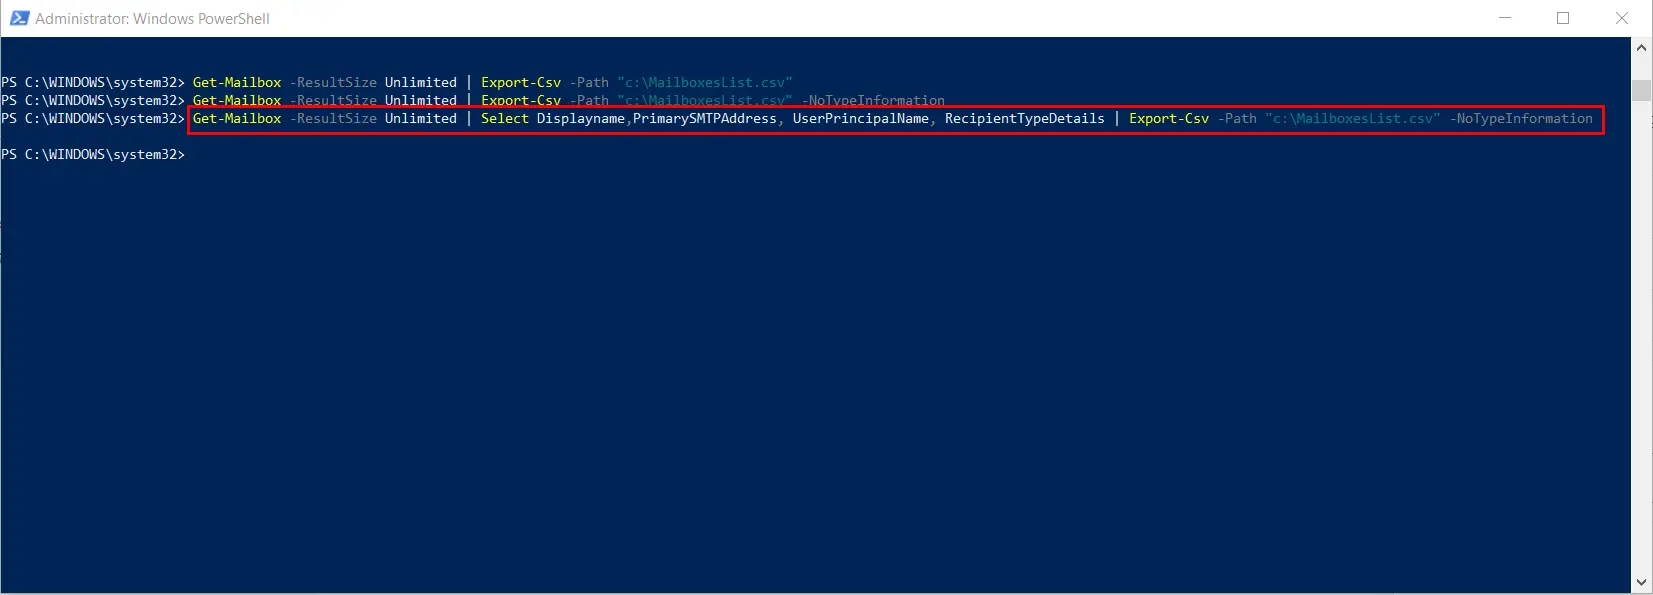
You can choose the parameters as per your need, in the above, I have chosen: Displayname, PrimarySMTPAddress, UserPrincipalName, RecipientTypeDetails.
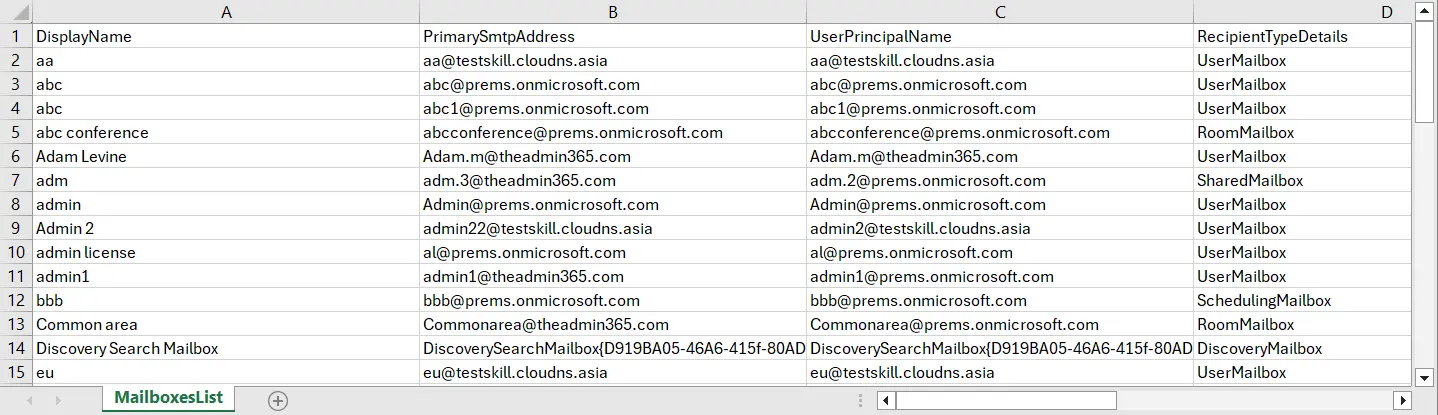
The Output file of the above command will look like the following:
In this way, we can modify the command and Export all the mailboxes in Office 365 using PowerShell as per your need.
Do let me know if you have any question, in the comment box below.