In this blog we will see how we can setup Automatic Reply on Email in Office 365, there are multiple ways to do it, we will talk about them here.
We can setup automatic reply which is also know as out of office(OOF) replies, using Outlook application, Outlook on the web, Microsoft 365 admin center, Exchange admin center and also via PowerShell.
If you are looking to setup automatic reply using mobile device then refer this article.
Setup Automatic reply on email using Outlook Desktop:
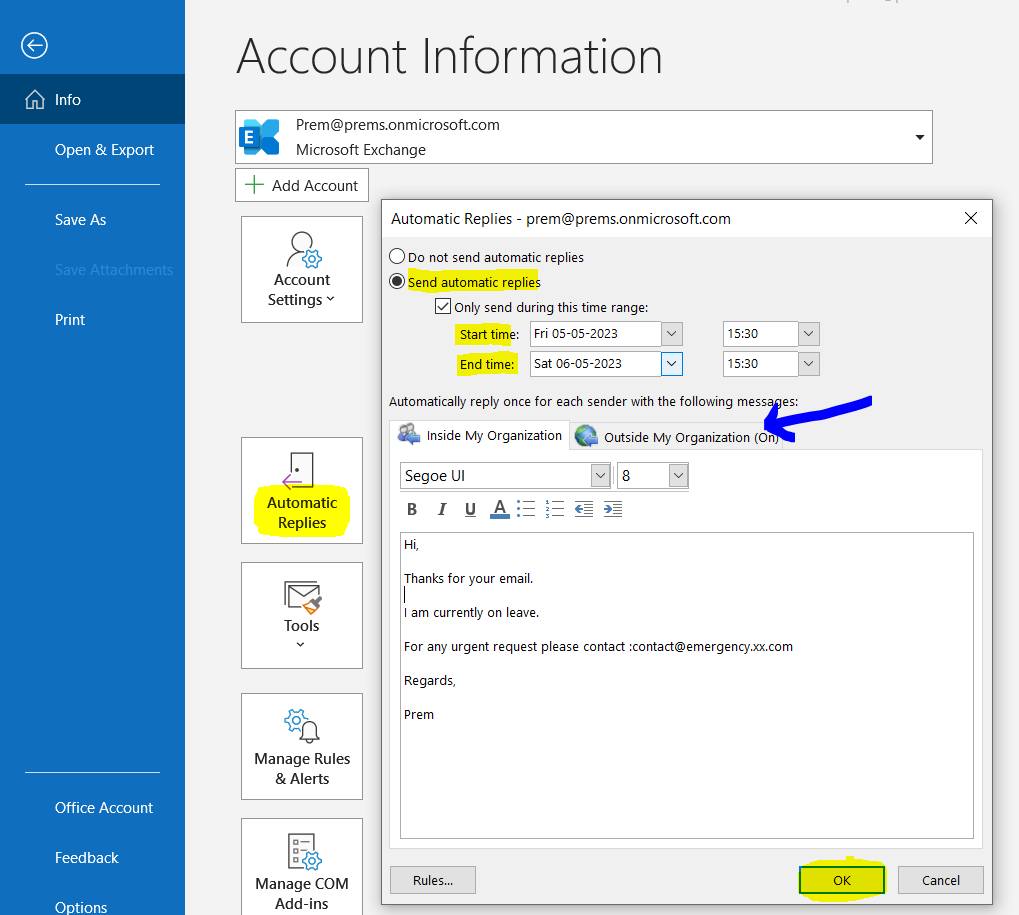
Open Outlook and click on File.
Then click on Automatic Replies > Select Send automatic replies option > Select time range with start and end time > Enter your custom email message in the window shown:
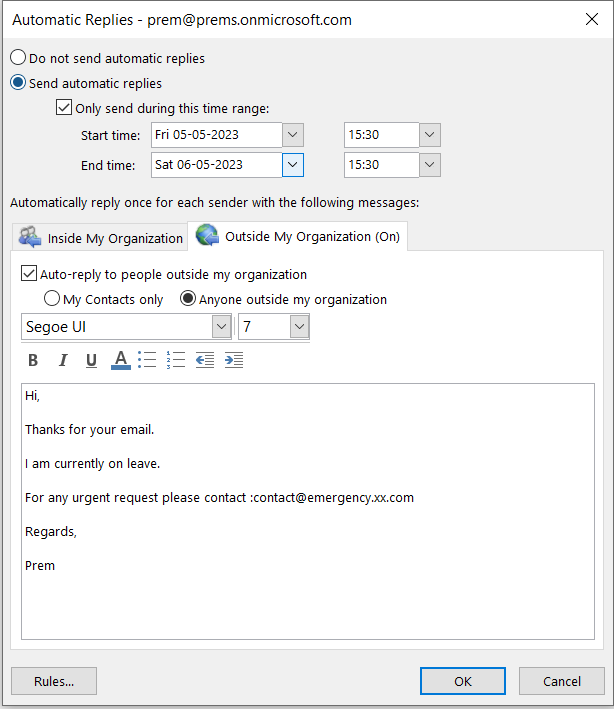
You can also set it up for people Outside the organization so that when they send you email in the selected period they will get email with the custom message you have set:
Setup Automatic reply on email using Outlook on the web:
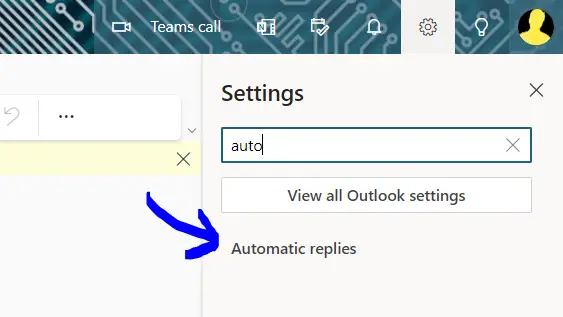
Go to https://outlook.office.com and sign in with your account on which you are looking to setup Automatic Replies on.
Once signed in click on the Settings Icon on the top right of the page and then search for automatic replies:
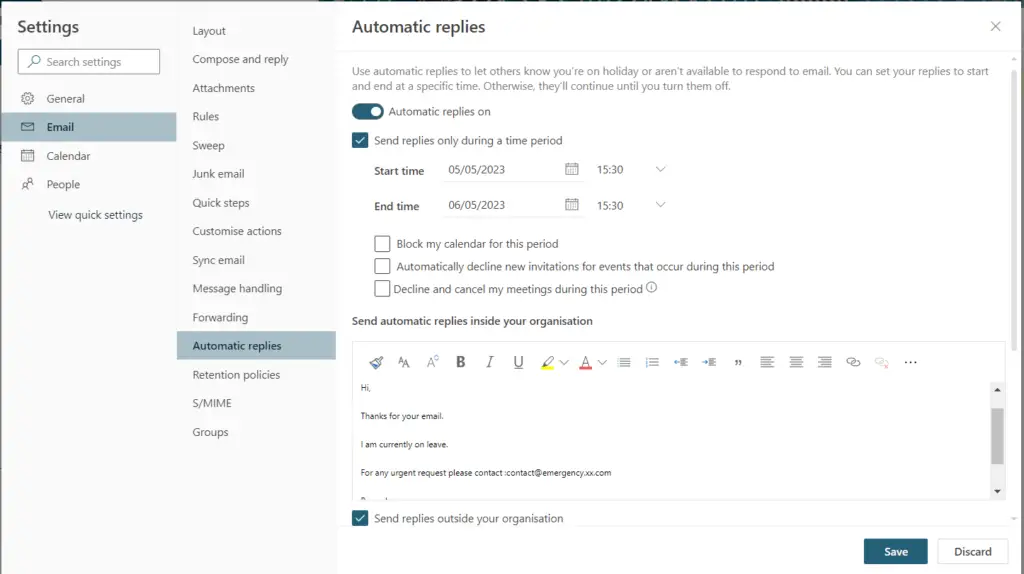
Select the option which you want on this page and set it up for internal and or external users as per your requirement:
Setup Automatic reply on email using Outlook desktop inbox rule:
You will have to first create a outlook email template with the message that you want the sender to receive and then save that email template on your computer.
You can setup OOF replies by creating a new inbox rule with the conditions as below,
If the email is sent to me reply with the email template and then select the template which you have created.
This method will only work if your outlook is always open as the rule is computer specific.
Setup Automatic reply on email using Admin centers:
OOF messages can also be set on shared mailboxes.
Go to https://Admin.microsoft.com, or the Microsoft Admin center.
Click on Teams and Groups > then click on Shared mailboxes:
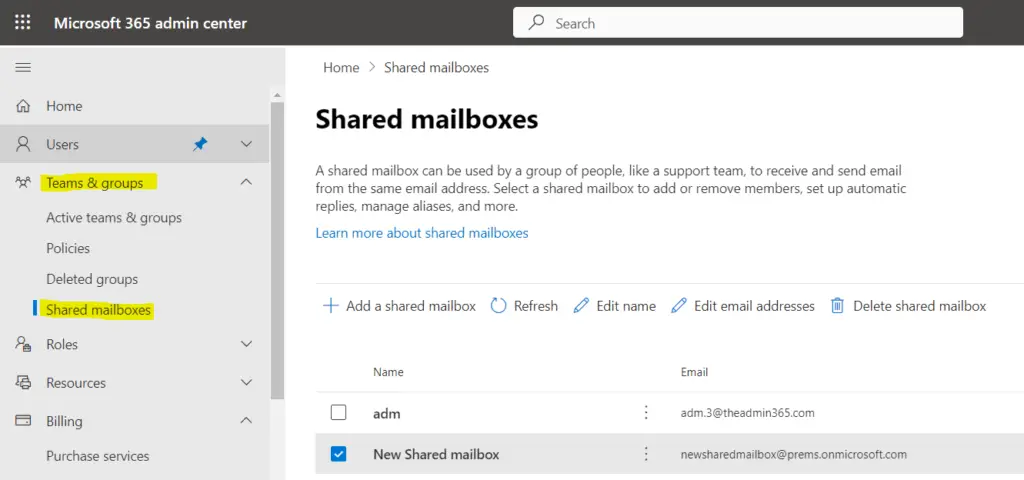
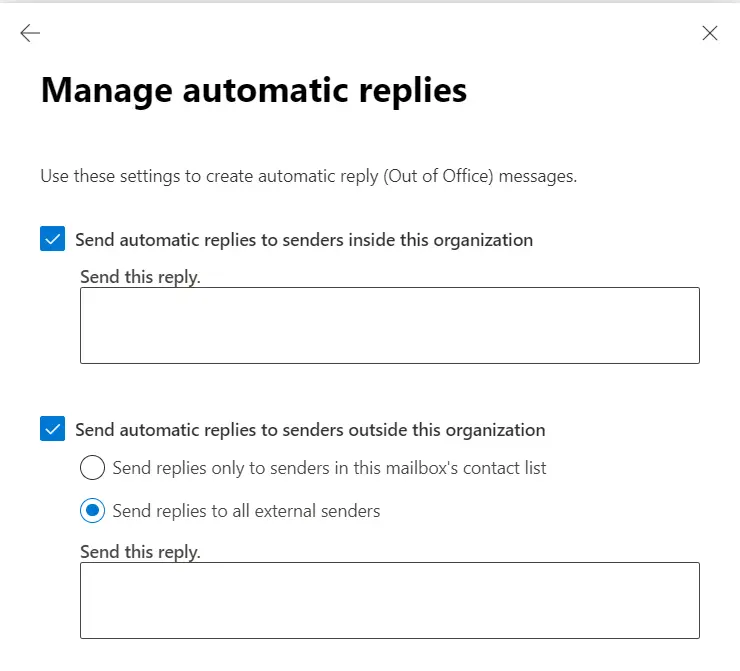
Click on the Shared mailbox on which you want to enable this feature, under Automatic replies, click on Edit then select the check box to enable it and to see all the option as below:
For user account you can go to Users tab > then click on active users > click on the name of the user to open this window:
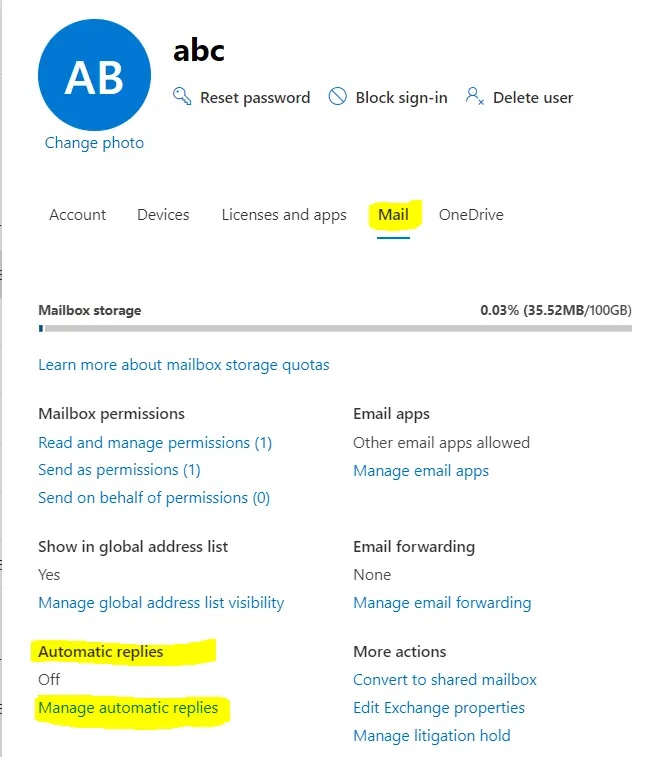
Click on Mail tab and then Manage automatic replies under Automatic replies.
Setup Automatic reply on email using windows PowerShell:
First you will have to connect the powershell to the exchange admin center.
Once connected run the following after changing the parameters as per your needs:
Set-MailboxAutoReplyConfiguration -Identity Prem@prem.onmicrosoft.com -AutoReplyState Enabled -StartTime “7/10/2018 08:00:00” -EndTime “7/15/2018 17:00:00” -InternalMessage “Internal auto-reply message.” -ExternalMessage “External auto-reply message.” -ExternalAudience All
The above example configures Automatic Replies for Prem’s mailbox, specifies the reply for messages from internal and external senders, specifies the external reply is sent to any external address and is enabled for specific dates only.
More on the PowerShell command here.
In this way you can setup Automatic replies in Office 365.
Do let us know if you have any question.
Date: 05/05/2023
Author: Prem
Tags: How to Setup Automatic Reply on Email
Pingback: How to set Outlook mobile out of office - The Admin 365